How to create 3D Animated Video Using Auto desk Maya Software with Texturing-Lightening-Visual Effects.
Contents
- 1 How to Create a 3D Animated Video Using Autodesk Maya
- 2 Step 1: Pre-Production (Planning)
- 3 Step 2: 3D Modeling
- 4 Step 3: Texturing & UV Mapping
- 5 Step 4: Rigging & Skinning
- 6 Step 5: Animation
- 7 Step 6: Lighting & Rendering
- 8 Step 7: Visual Effects (VFX) & Simulation
- 9 Step 8: Rendering & Exporting
- 10 Step 9: Post-Production & Editing
- 11 Recommended Software Along with Maya
How to Create a 3D Animated Video Using Autodesk Maya
Autodesk Maya is a powerful software used for 3D modeling, animation, texturing, lighting, and visual effects (VFX). Here’s a step-by-step guide to creating a 3D animated video in Maya:
Step 1: Pre-Production (Planning)
Concept & Storyboarding – Sketch out the scenes and sequences.
Scriptwriting – Define dialogues, actions, and camera movements.
Character & Environment Design – Plan models, textures, and lighting.
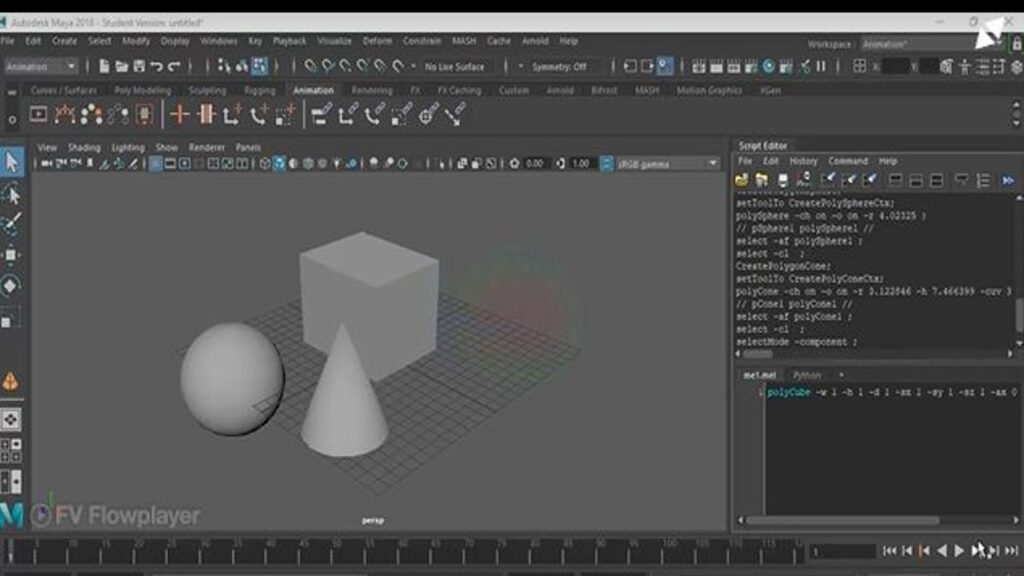
Step 2: 3D Modeling
Create 3D Objects – Use polygons, NURBS, and curves to design characters, props, and environments.
Refine Meshes – Add details using sculpting tools.
Topology Optimization – Ensure smooth animation with proper edge loops.
Step 3: Texturing & UV Mapping
Apply Materials & Textures
Unwrap UVs for detailed painting (UV Editor).
Use tools like Substance Painter or Photoshop to create realistic textures.
Apply shaders in Arnold Renderer, Lambert, Phong, or Blinn for different material effects.
Step 4: Rigging & Skinning
Add Bones & Controllers
Use Maya’s Human IK (HIK) for auto-rigging characters.
Apply Inverse Kinematics (IK) & Forward Kinematics (FK) for smooth movements.
Bind skin using Smooth Bind or Rigid Bind.
Step 5: Animation
Keyframing & Motion Control
Use Keyframe Animation (Set Position, Rotation, and Scale over time).
Apply Graph Editor to refine motion curves.
Use Blend Shapes for facial animations.
Utilize Motion Capture (Mocap) Data for realistic movements.
Step 6: Lighting & Rendering
Create Realistic Lighting
Add Area Lights, Spotlights, and Directional Lights for depth.
Use Arnold Renderer for realistic shadows and reflections.
Adjust Global Illumination (GI) & Ambient Occlusion (AO) for better quality.
Step 7: Visual Effects (VFX) & Simulation
Enhance with Effects
Use Maya Bifrost for fluid, smoke, and fire simulations.
Apply nCloth for realistic fabric movement.
Add Particles & Dynamics for explosions, sparks, or magic effects.
Step 8: Rendering & Exporting
Finalizing the Animation
Use Batch Rendering in Arnold or RenderMan.
Export frames in EXR or PNG format for high quality.
Assemble scenes in After Effects or Premiere Pro for post-production.
Step 9: Post-Production & Editing
Add Music & Effects
Apply background music, voiceovers, and sound effects.
Color correct & enhance visuals in After Effects.
Export the final video in MP4, MOV, or AVI format.
Recommended Software Along with Maya
ZBrush – For high-detail sculpting.
Substance Painter – For realistic texturing.
Adobe After Effects – For post-production & compositing.
Blender/Nuke – For advanced VFX.
Would you like video tutorials, project files, or sample templates to get started?