Learn Basic Concept of 3D Animation-How to Animate the Body in three Dimension
Learn Basic Concept of 3D Animation-How to Animate the Body in three Dimension.
Learning the basic concepts of 3D animation and understanding how to animate the body in three dimensions is a powerful step into the world of animation, gaming, visual effects, and virtual production.
Here’s a structured guide to help you grasp the fundamentals and begin animating a human body in 3D.
Contents
🎬 Part 1: Understanding the Basics of 3D Animation
✅ What is 3D Animation?
3D animation is the process of creating moving images in a 3-dimensional digital space. Unlike 2D animation, 3D allows for depth, perspective, and realistic movement.
📦 Core Components:
-
Modeling – Creating the 3D character (body).
-
Rigging – Adding a skeleton to the model for movement.
-
Skinning – Binding the model to the skeleton.
-
Animation – Moving the body over time using keyframes.
-
Rendering – Outputting the final animation.
🦴 Part 2: How to Animate the Body in 3D
1. Character Rigging (Making the Body Move)
-
Add a skeleton (armature) inside the body.
-
Each bone controls part of the model (e.g., upper arm, lower leg).
-
Joints are placed at pivot points (like knees or elbows).
2. Pose-to-Pose Animation
-
Create key poses at different times.
-
Example:
-
Frame 1: Character standing still
-
Frame 10: Character lifts arm
-
Frame 20: Character waves
-
-
The software interpolates motion between keyframes (tweening).
3. Animating the Body – Core Movements
-
Idle Pose – Natural stance with slight motion (like breathing).
-
Walk Cycle – 4 main poses: contact, down, passing, up.
-
Run Cycle – Similar to walking but with more exaggerated poses.
-
Jump, Bend, Reach, Sit – Focus on timing and weight shifts.
🎯 Animation Principles (Must-Know for Body Movement)
These are taken from Disney’s classic animation rules but apply directly to 3D:
-
Squash & Stretch – Flexibility of body parts (even subtle in human body).
-
Anticipation – Prepping for movement (e.g., bending before jumping).
-
Follow-Through – Body parts continue after motion (like arms swinging).
-
Timing & Spacing – Faster or slower movements for emotion and weight.
-
Arcs – Natural motion follows curved paths, not straight lines.
-
Secondary Action – Small actions that support the main one (hair, clothes, fingers).
🛠️ Tools to Learn 3D Animation
| Tool | Description | Free? |
|---|---|---|
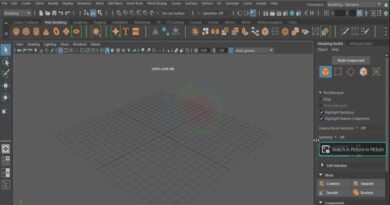
| Blender | Open-source 3D animation suite | ✅ Yes |
| Maya | Industry-standard animation software | ❌ Paid (Student version free) |
| Cinema 4D | Great for motion graphics + animation | ❌ Paid |
| Mixamo | Free auto-rigging and motion library | ✅ Yes |
📚 Learning Resources (Free & Paid)
📺 YouTube Channels:
-
CG Geek (Blender)
-
Pierrick Picaut (Character animation)
-
Royal Skies (Animation basics)
-
FlippedNormals (Professional insights)
🧑🏫 Courses:
-
Animation Mentor – High-level training
-
Udemy: 3D Character Animation for Beginners – Affordable beginner-friendly options
🧠 Tips to Get Started Practicing:
-
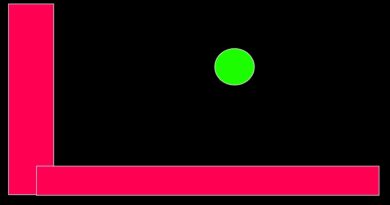
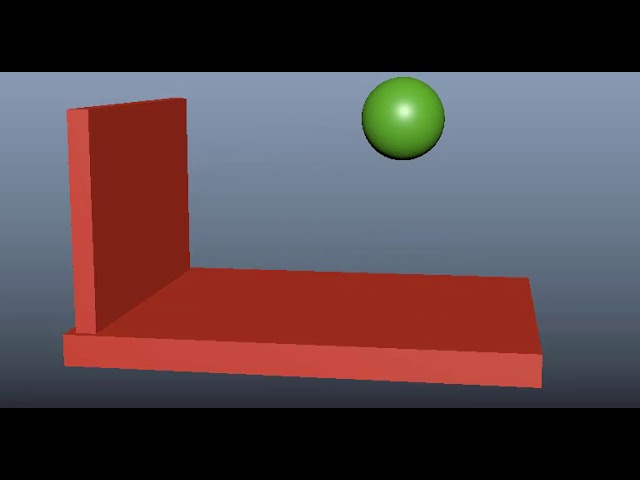
Start with basic ball bounce to learn timing and spacing.
-
Move to simple walk cycles.
-
Practice posing your character in expressive ways.
-
Record yourself and try to replicate real body motion.
-
Study anatomy and movement — real-life observation is key.
💡 Want a Hands-On Project?
Would you like a step-by-step animation project (e.g., walk cycle or waving hand) using Blender or Mixamo?
I can give you:
-
A free character rig
-
Setup instructions
-
Keyframes timeline guide
-
Practice tips
Let me know your software preference, and we’ll build your first body animation scene together.